UKG Pro (RaaS) Open Positions
Audience
Audience: Administrators
Overview
UKG Pro has the capacity to track new talent throughout the recruitment and acquisition process using UKG Pro Recruiting. Using the UKG Pro (RaaS) API, OrgChart can pull open requisitions directly from the Applicant Tracking System (ATS) to supplement the Main Data Source.
Important
If you do not use UKG Pro (RaaS) as your Main Data Source, reference the UKG Pro (RaaS) Configuration article to learn how to prepare your UKG Pro (RaaS) tenant for OrgChart integration.
In some cases, you may have to open an Administrative Case with the Administrative SaaS Team in order to add the ATS Consumer Role to your report. Once this consumer role has been added, you'll need to make sure that read, execute, and traverse permissions are set for the ATS Consumer Role for the following:
The ATS report
The folder where the ATS report is stored
All parent folders
Setting up a UKG Pro (RaaS) ATS Connector
Log in to OrgChart.
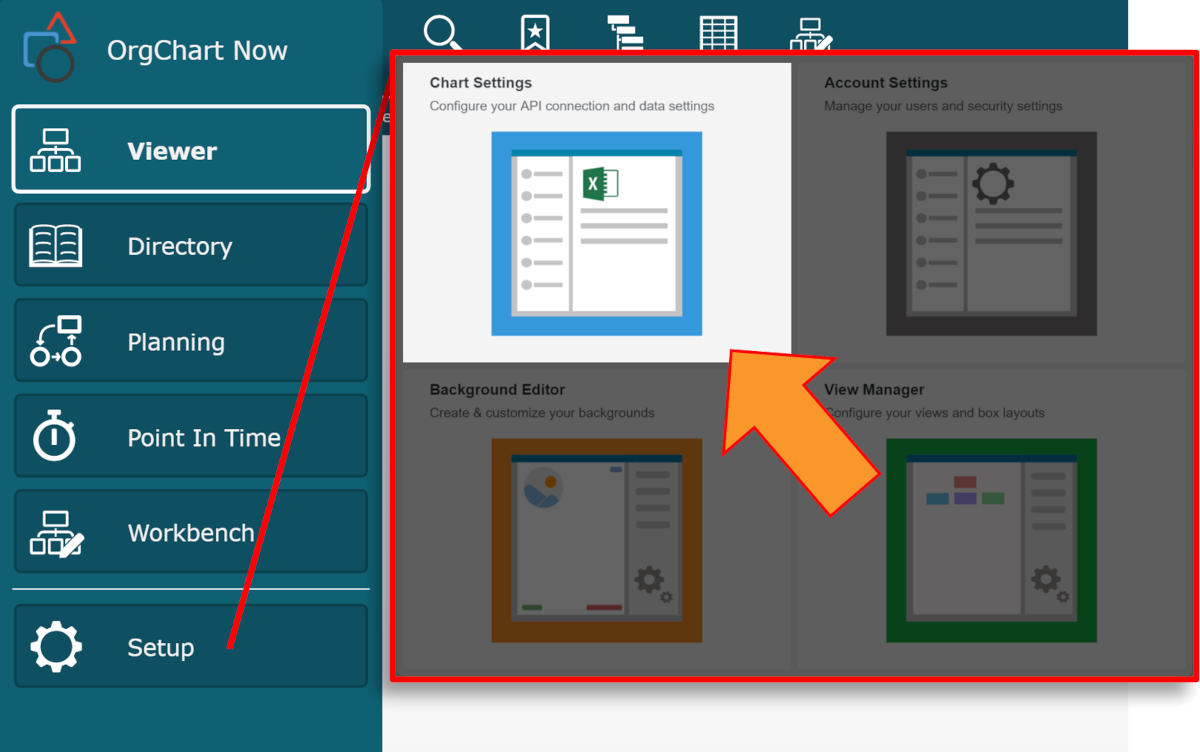
Click on the Mode Switcher icon in the Top Toolbar, and then select the Setup option. The Setup panel is displayed.

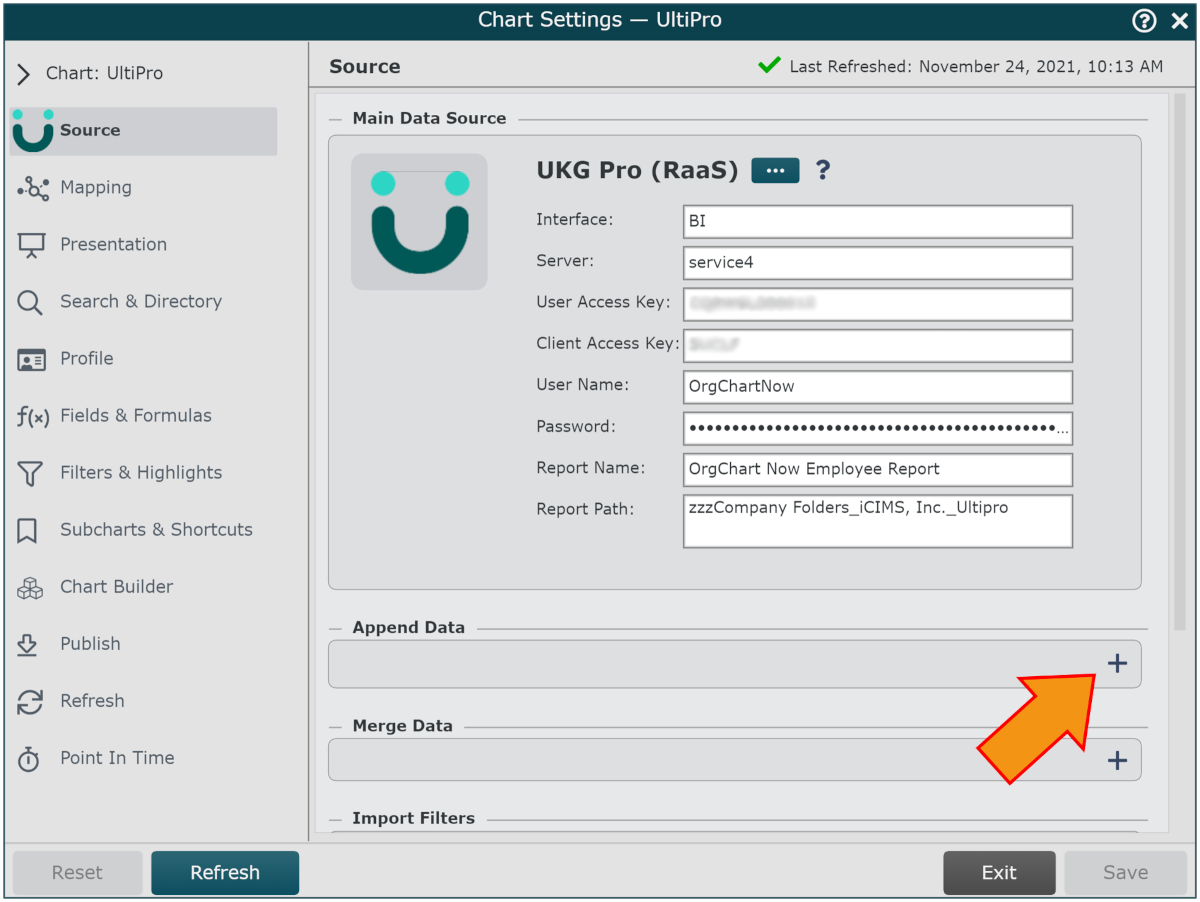
Click on the Chart Settings tile. The Source panel is displayed.
Click on the
 icon (under the Append Data heading).
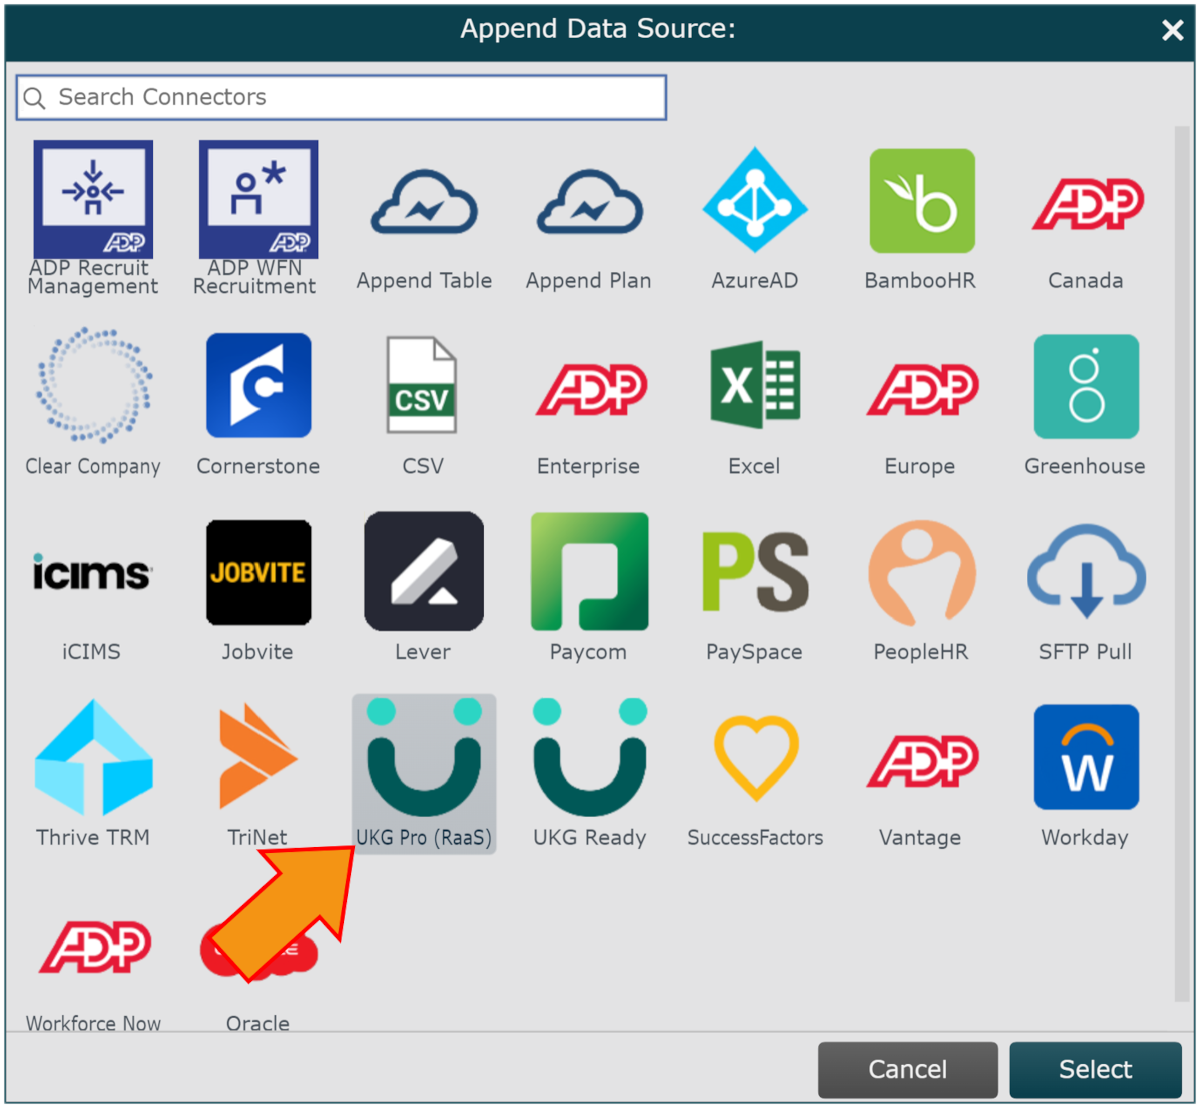
Click on the UKG Pro (RaaS) icon in the Append Data Source menu.

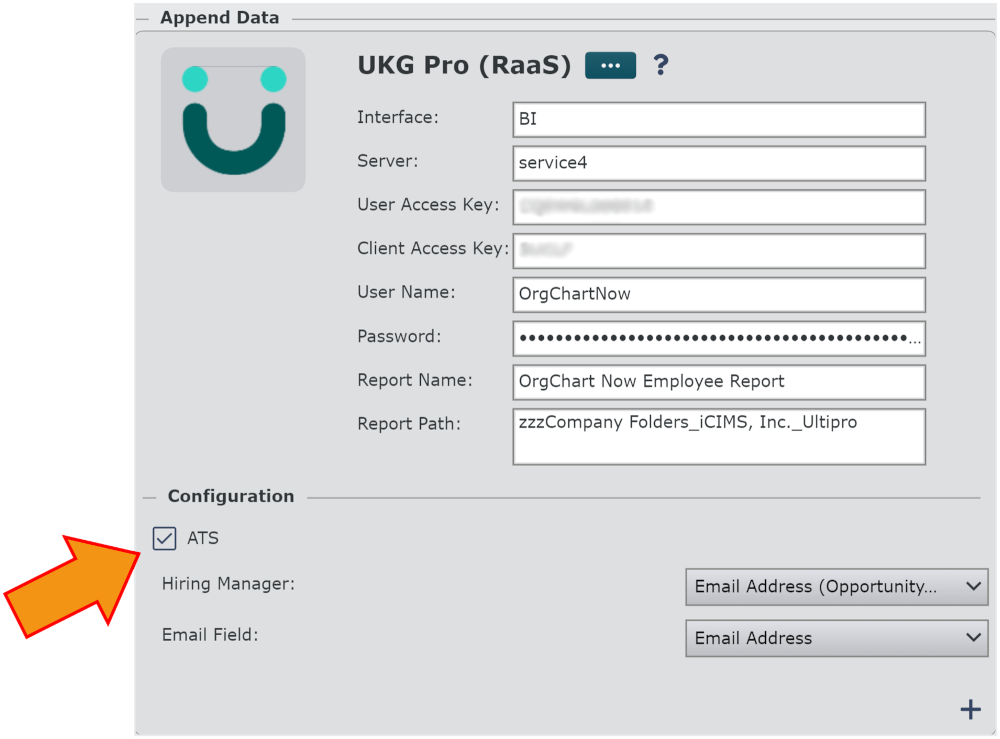
Enter the following information into the corresponding text boxes:
Interface - Name of UKG Pro (RaaS) Interface (for example, BI, BIT, or WS)
Server - The first part of the Business Intelligence web server endpoint address
User Access Key - API Key associated with the Web Service User account
Client Access Key - Customer API Key
User Name - User name of the Web Service User account
Password - Password for the Web Service User account
Report Name - Name of the Open Jobs Report
Report Path - The folder path used to access the Open Jobs Report
Check the ATS checkbox (under the Configuration heading).

Click on the Hiring Manager dropdown menu, and then select the field associated with the Hiring Manager's email.
Click on the Email Field dropdown menu, and then select the field associated with email in the Main Data Source.
Click on Save, and then Refresh.