Azure AD Photo Configuration
Audience
Audience: Administrators
Overview
OrgChart can pull photos directly from your Azure AD instance for display in chart boxes, employee profiles, and search results.
The following article provides step-by-step instructions for configuring your Azure AD photo import in OrgChart.
Important
If you would like to import photos from Azure AD, but you are not using Azure AD as your Main Data Source, please follow the steps outlined in the Azure AD Configuration article, or contact OrgChart Support for assistance.
Note
For photo sizing recommendations and other tips, reference the Working with Photos article.
Importing Azure AD Photos
Log in to OrgChart.
Click on the Mode Switcher icon in the Top Toolbar, and then select the Setup option. The Setup panel is displayed.
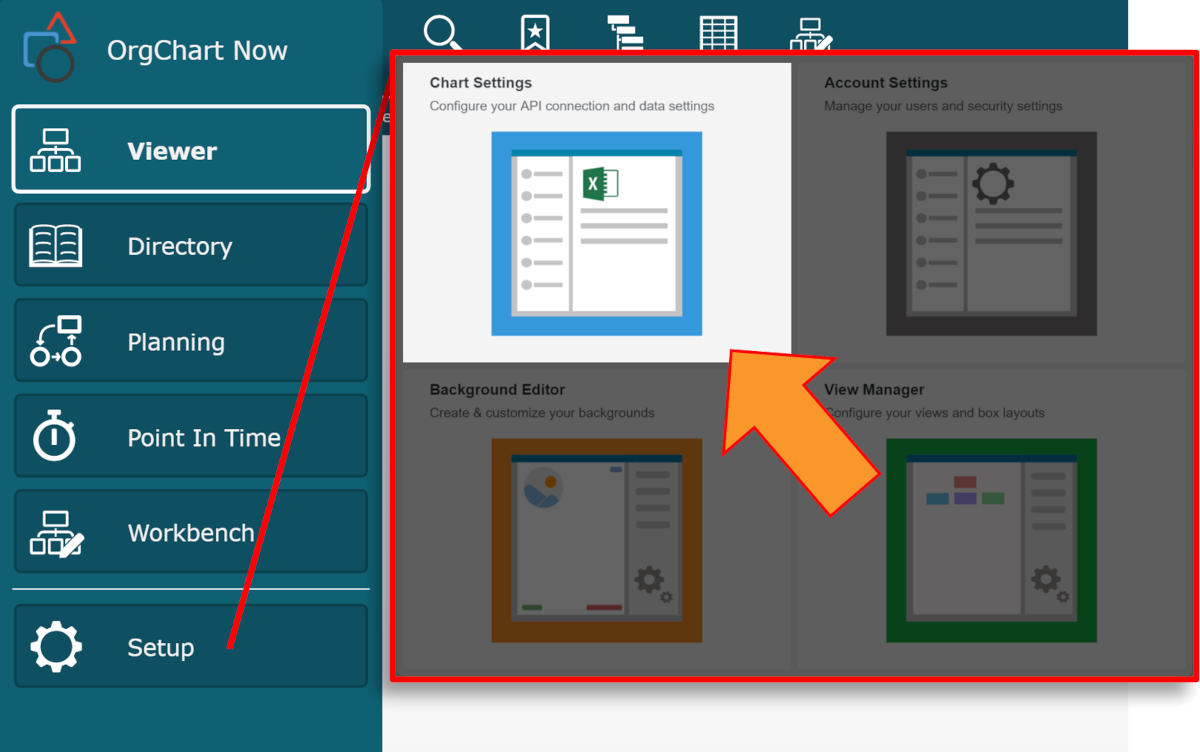
Click on the Chart Settings tile, and then select the Mapping option from the left side menu.

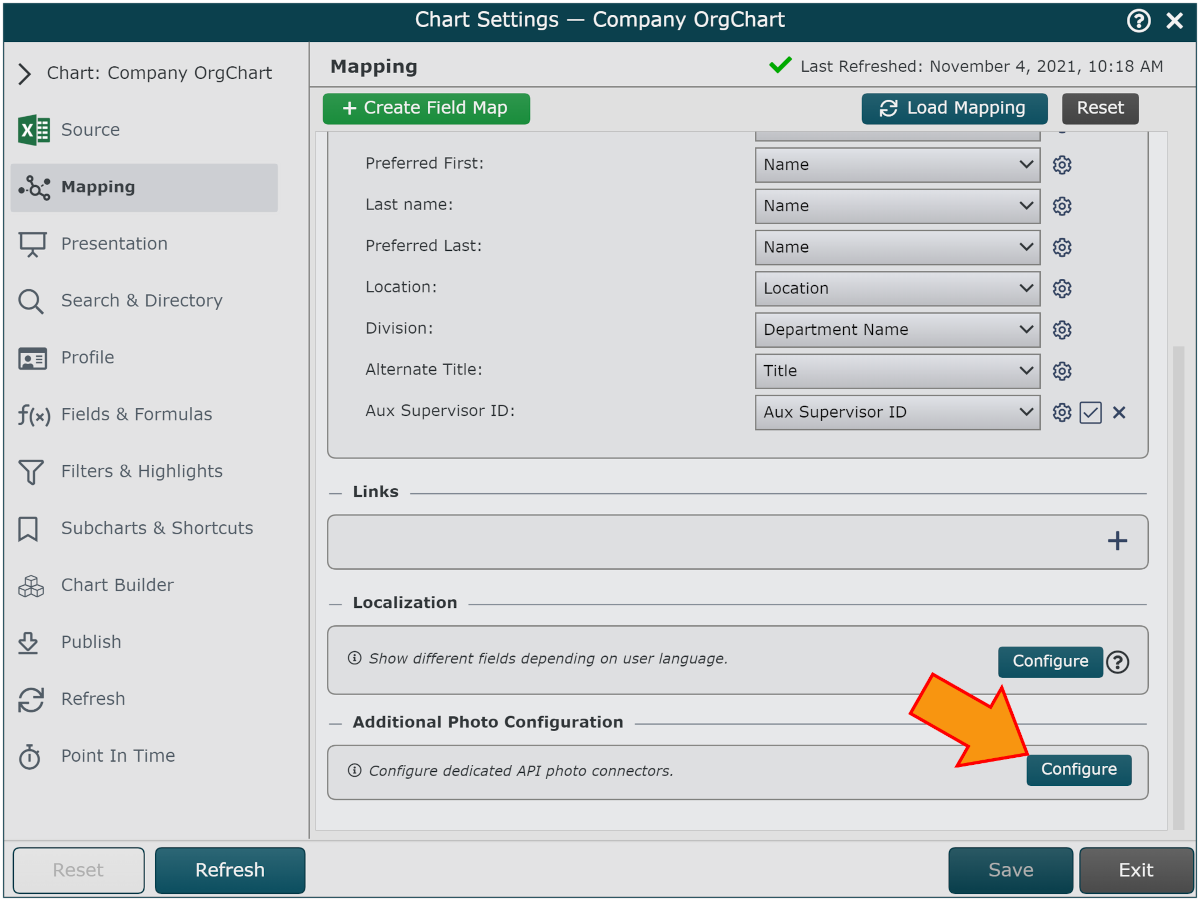
Scroll down to the Additional Photo Configuration section, and then click on the configure button. The Additional Photo Configuration panel is displayed.
Click on the
 button to the right of Source, and then double click on the AzureAD icon.
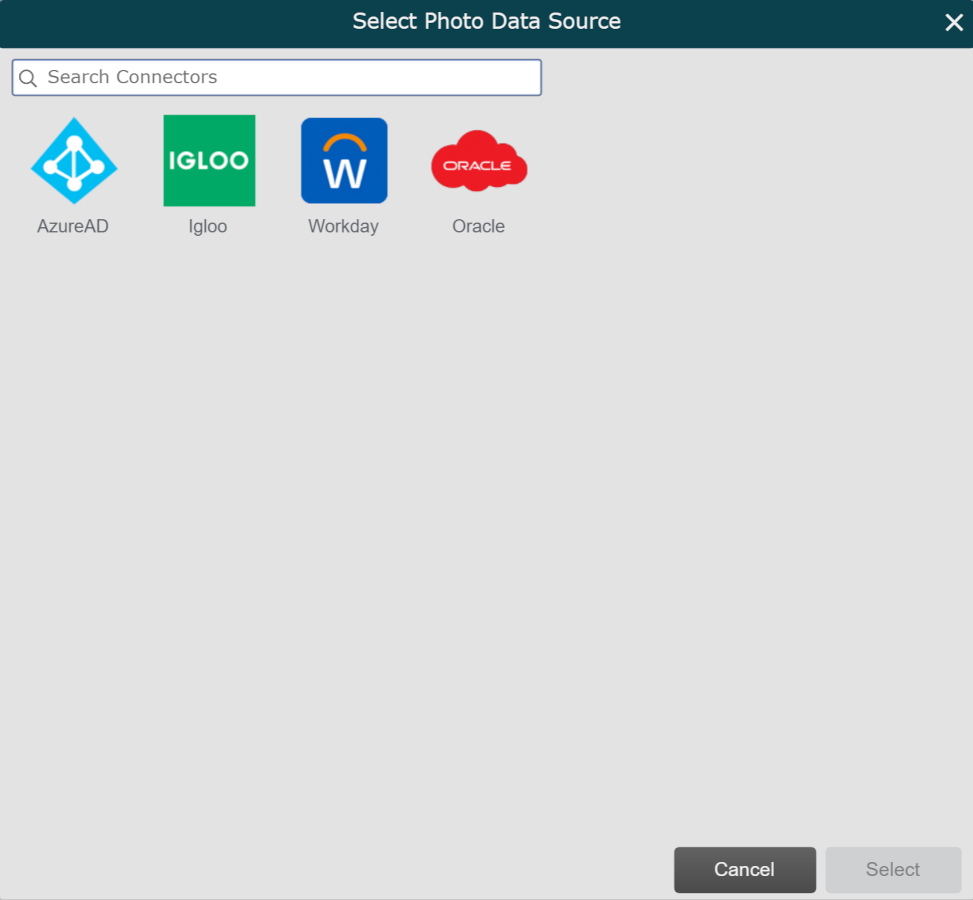
Enter the following credentials into the corresponding text boxes:
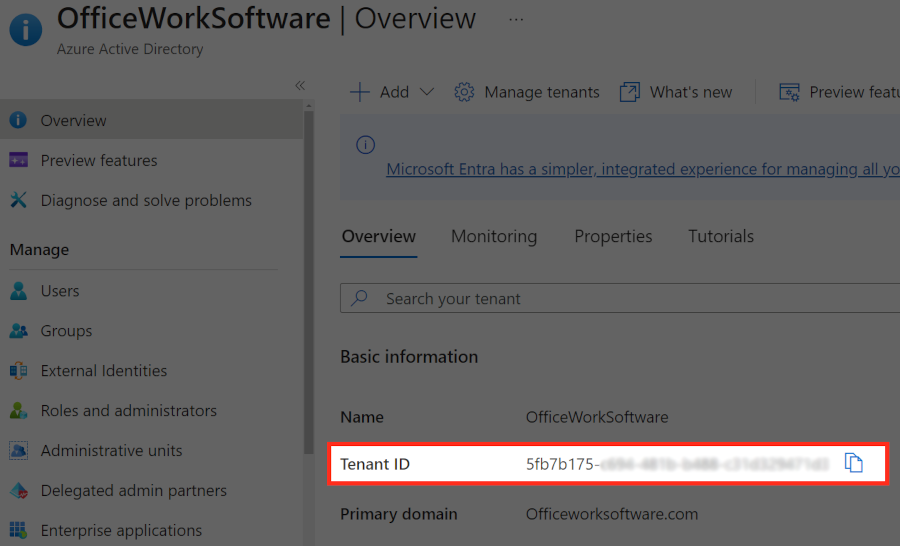
Subdomain - Azure AD Tenant ID
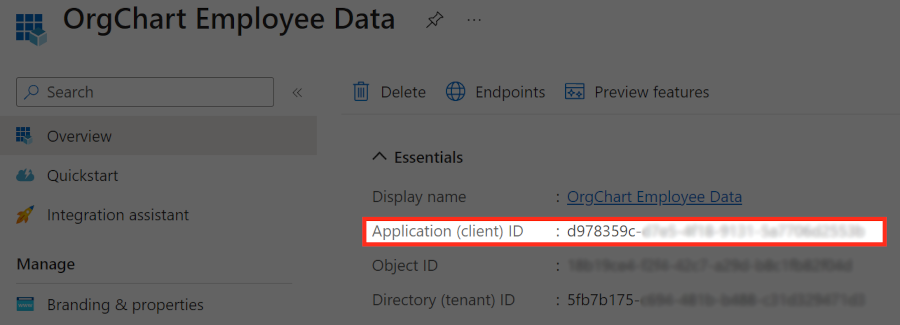
ClientID - Application (client) ID associated with the registered app in Azure AD
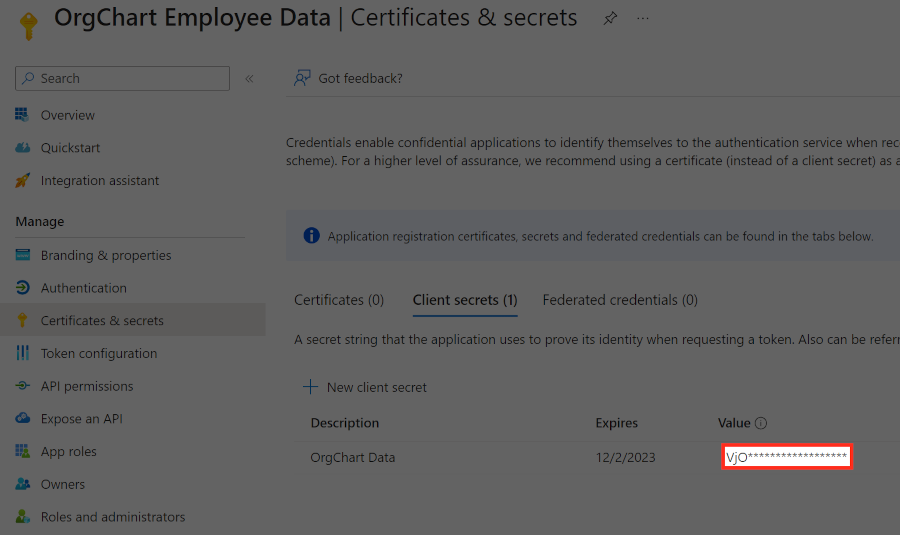
Client Secret - Client secret value generated in the Certificates & Secrets panel of the registered app in Azure AD (steps 7-12 in the Azure AD Configuration article).
Important
Ensure that you've configured the OrgChart app in Azure AD in order to locate these credentials.
Reference the Azure AD Configuration article, or contact your Azure AD System Admin for help locating the credentials listed above.
Click on Validate to ensure that your credentials are correct.
Click on Save, and then Refresh.
Follow the steps in the Creating a Photo Formula section to finish configuring your AzureAD photos.
Creating a Photo Formula
Log in to OrgChart.
Click on the Mode Switcher icon in the Top Toolbar, and then select the Setup option. The Setup panel is displayed.
Click on the Chart Settings tile, and then then select the Fields & Formulas option from the left side menu.
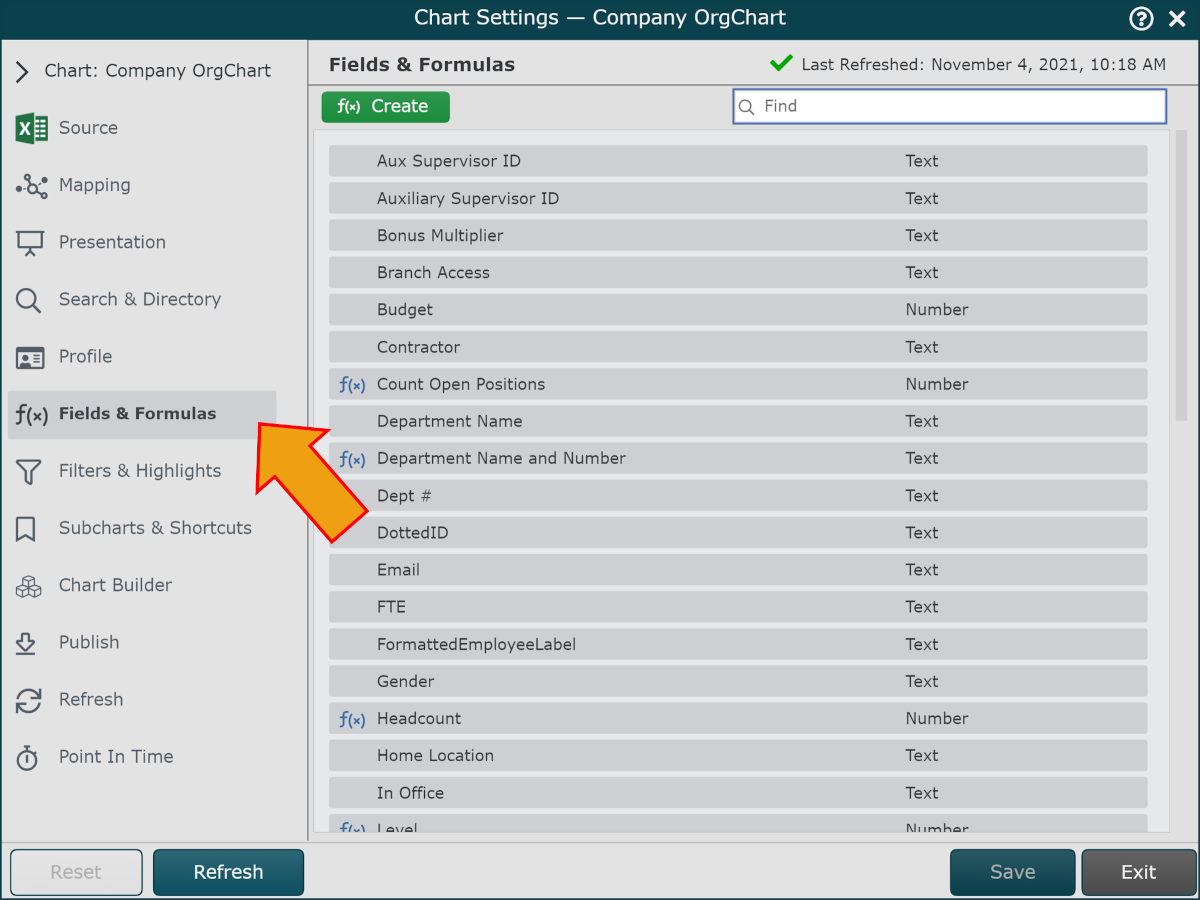
Click on the green f(x) Create button (in the top left corner), and then select the Static Formula option. The Formula Editor is displayed.
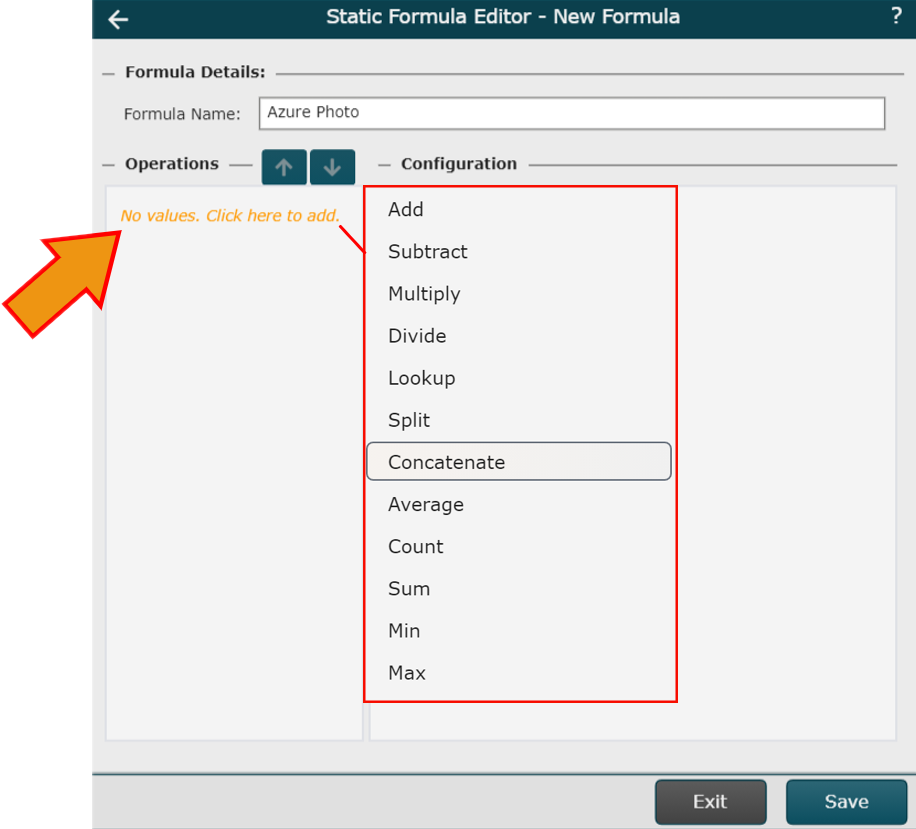
Enter a name for the formula (i.e. Photo).
Click on the No values. Click here to add hyperlink, and then select the Concatenate option from the dropdown.
Enter /o365/ in the Value text box.
Click on the Add Value button.
Click on the Type dropdown menu, and then select the Field Lookup option.
Click on the Value dropdown menu, and then select the field used to name the Azure photos (i.e. Email).
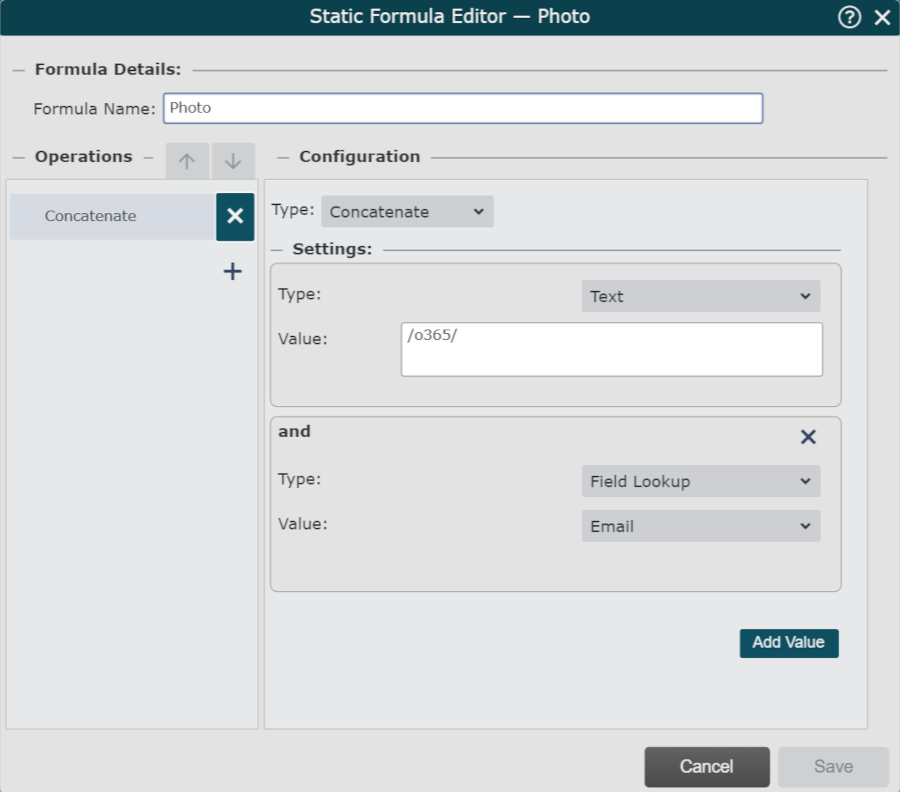
Click on Save, and then Refresh.