Auto-Assignment Example
Audience:
Audience: Administrators
Overview
OrgChart allows administrators to define conditions for assigning Access Groups to users upon login. Rather than manually setting each user's Access Group and Role in the Account Settings: Manage Users panel, Access Groups will be assigned based on selected field values.
Note
Note: It is possible to override an Auto-Assignment for specific employees who meet the conditions for a particular Access Group, but should not be in that group. See the Overriding an Auto-Assignment section below for more information.
Configuring Automatic Role Assignment
The following section provides step-by-step instructions for configuring an Auto-Assignment based on Department. Reference the Account Settings: Access Groups article to learn how to create Access Groups for assignment.
Log in to OrgChart.
Click on the Mode Switcher icon in the Top Toolbar, and then select the Setup option. The Setup panel is displayed.
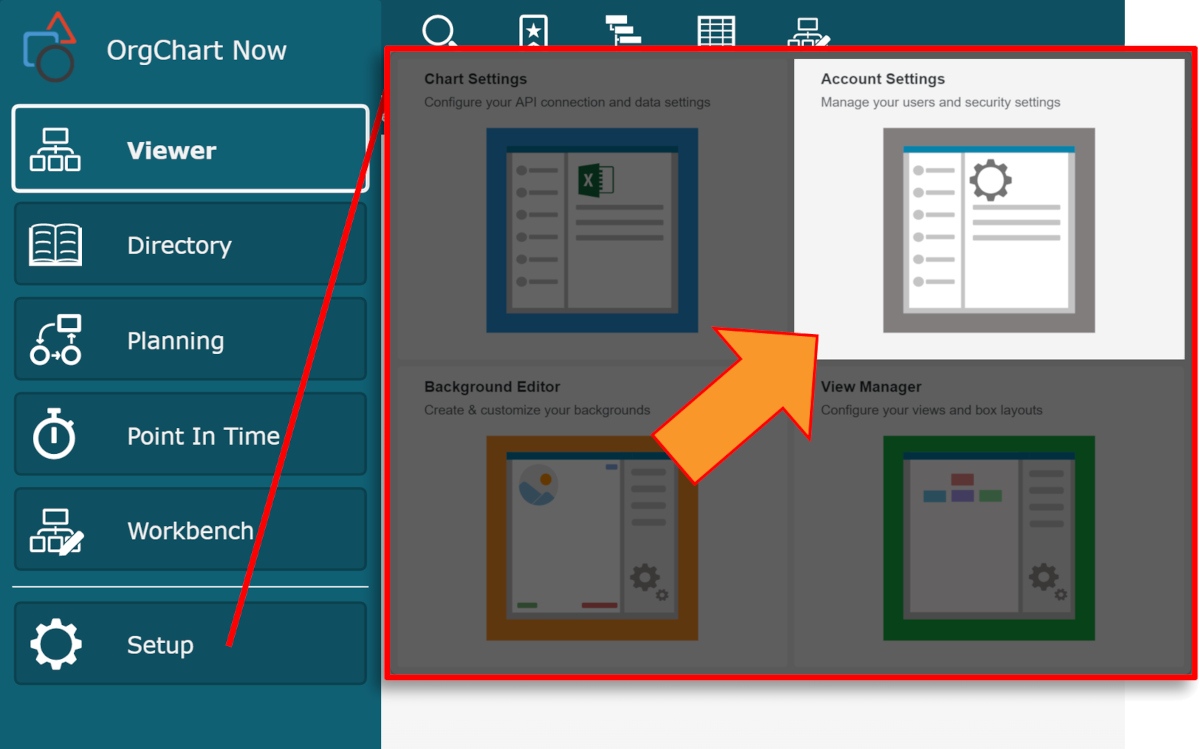
Click on the Account Settings tile, and then click on the Authorization tab in the left side menu.

Allow one Administrator User with Full Access the ability to override an auto-assignment. Reference the Overriding an Auto- Assignment below for more information.
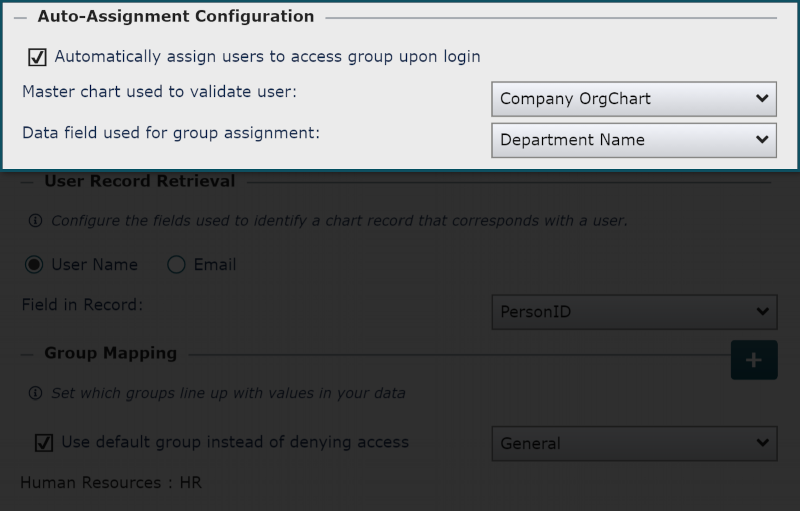
Check the Automatically assign users to access group upon login checkbox (under the Auto-Assignment Configuration heading).
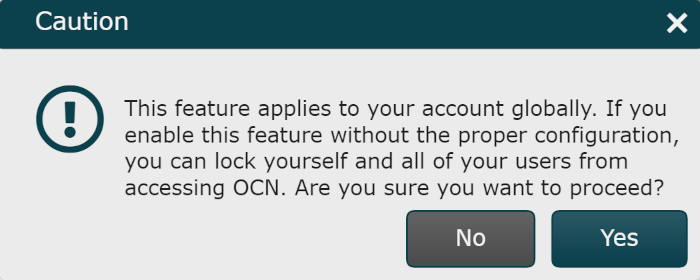
The following warning is displayed. Click Yes to continue.
Select the Master Chart associated with this role assignment from the Master chart used to validate user dropdown.
Select the data field to use for assigning access groups from the Data field used for group assignment dropdown.
Select the method of User Record Retrieval you would like to use to identify a chart record with its associated user (i.e. User Name).
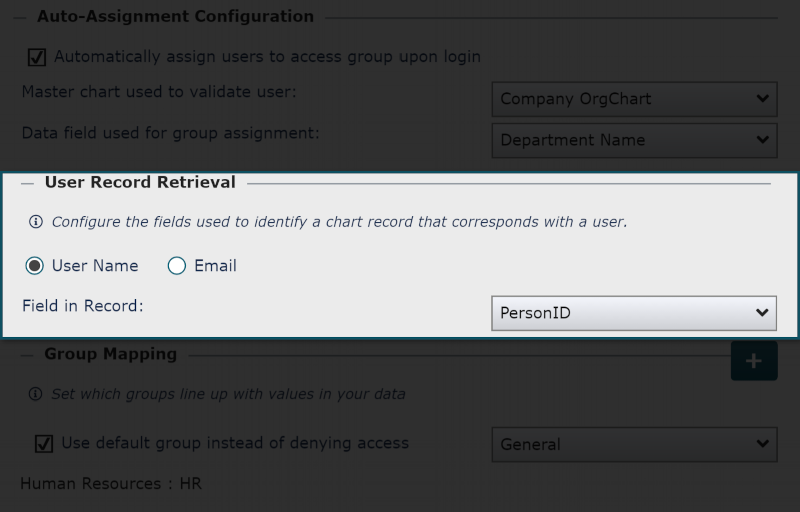
Select the Field associated with your chosen User Record Retrieval method (i.e. PersonID) from the Field in Record dropdown menu.
Click on the
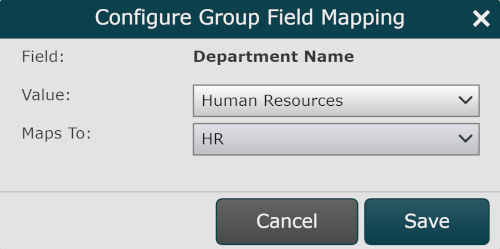
 button (to the right of the Group Mapping heading). The Configure Group Field Mapping dialog is displayed.
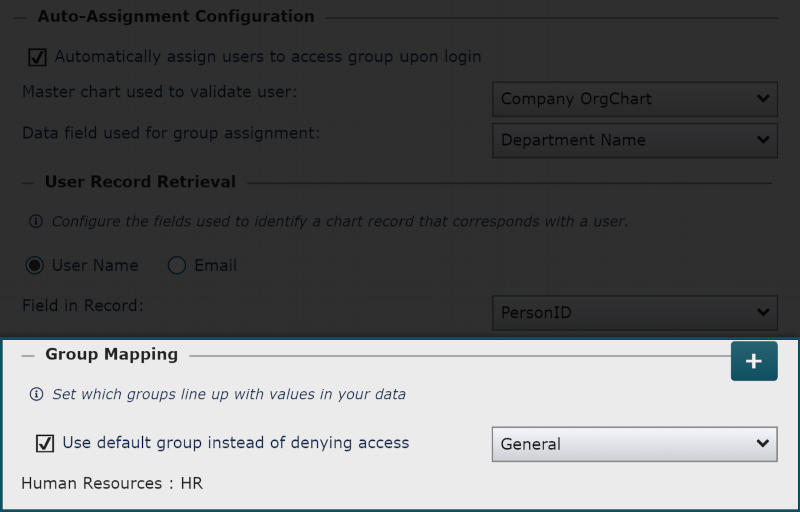
Select a field value from the Value dropdown menu.
Select an Access Group from the Maps To dropdown. This specifies the Access Group an employee will be assigned when their record matches the selected Field Value (step 11) for the chosen Data Field (step 7).
Note
Note: If you have recently created an Access Group, and not yet refreshed your account, you may not see the Access Group in the Maps To dropdown menu. Ensure that you refresh your account after saving an Access Group, so that it appears as an option.
Click OK. The mapping is displayed at the bottom of the Group Mapping section.
Note
Note: Double-click on an existing mapping entry to edit it. Mouse over an existing mapping entry, and then click on
 icon to delete it.
Optionally, click on the
button to define more Group Field Mapping.Check the Use default group instead of denying access checkbox.
Select an Access Group from the Use default group instead of denying access dropdown. This will ensure that users have access to OrgChart, even if their employee record does not correspond with any of the defined Group Mapping criteria.
Note
Note: Typically, this Access Group is the most restricted. If an employee should have more access than is allowed by this default group, you can override the automatic system assignment, and then manually assign them a new one. Reference the Overriding an Auto-Assignment section below or the Account Settings: Manage Users article for more information.
Click Save.
Set Automatic Row Level Security Assignment
You may have different Row Level Security profiles for each data value of a specified field. For example, different Row Level Security profiles might have been configured for each work location. The following section provides instructions for enabling Dynamic Row Level Security.
Note
Note: This section assumes that Row Level Security profiles have already been created. Reference the Row Level Security article for more information, or contact OrgChart Support.
Check the Use data field for Row Level Security assignment checkbox (under the Row Level Security heading). A dropdown menu is displayed.
Select the field associated with the Dynamic Row Level Security profiles previously configured (i.e. Work Location).
Click on Save.
Note
Note: This feature can be used independently or in conjunction with Auto-Assignments.
Overriding an Auto-Assignment
In order to avoid being locked out of OrgChart, at least one Administrative User with Full Access should opt to override the Auto-Assignment. The following section provides step-by-step instructions for overriding Auto-Assignment.
Log in to OrgChart.
Click on the Mode Switcher icon in the Top Toolbar, and then select the Setup option. The Setup panel is displayed.
Click on the Account Settings tile, and then click on the Manage Users tab in the left side menu.
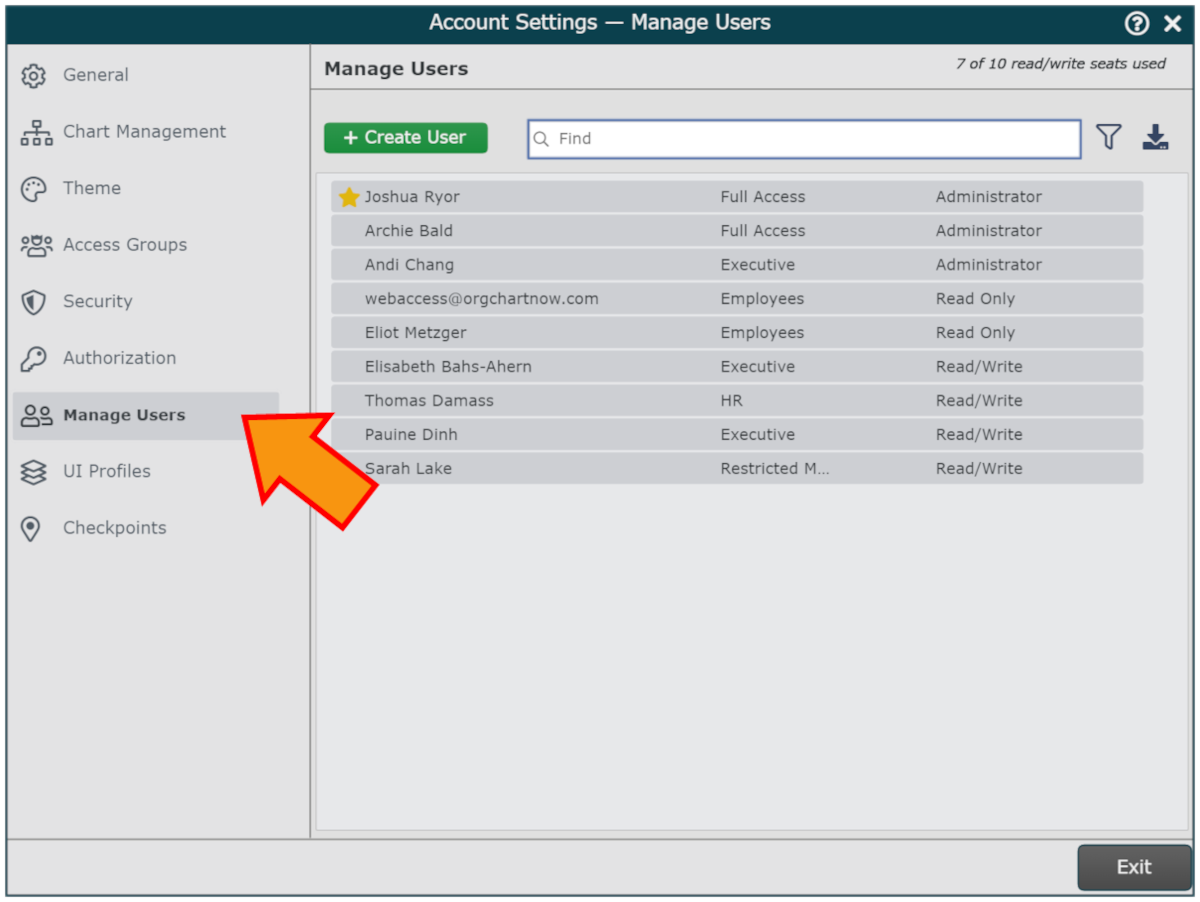
Mouse over the Administrator User whose auto-assignment you would like to override, and then click on the

Check the Bypass data driven group assignment checkbox (seen below), and then click on the Update button.
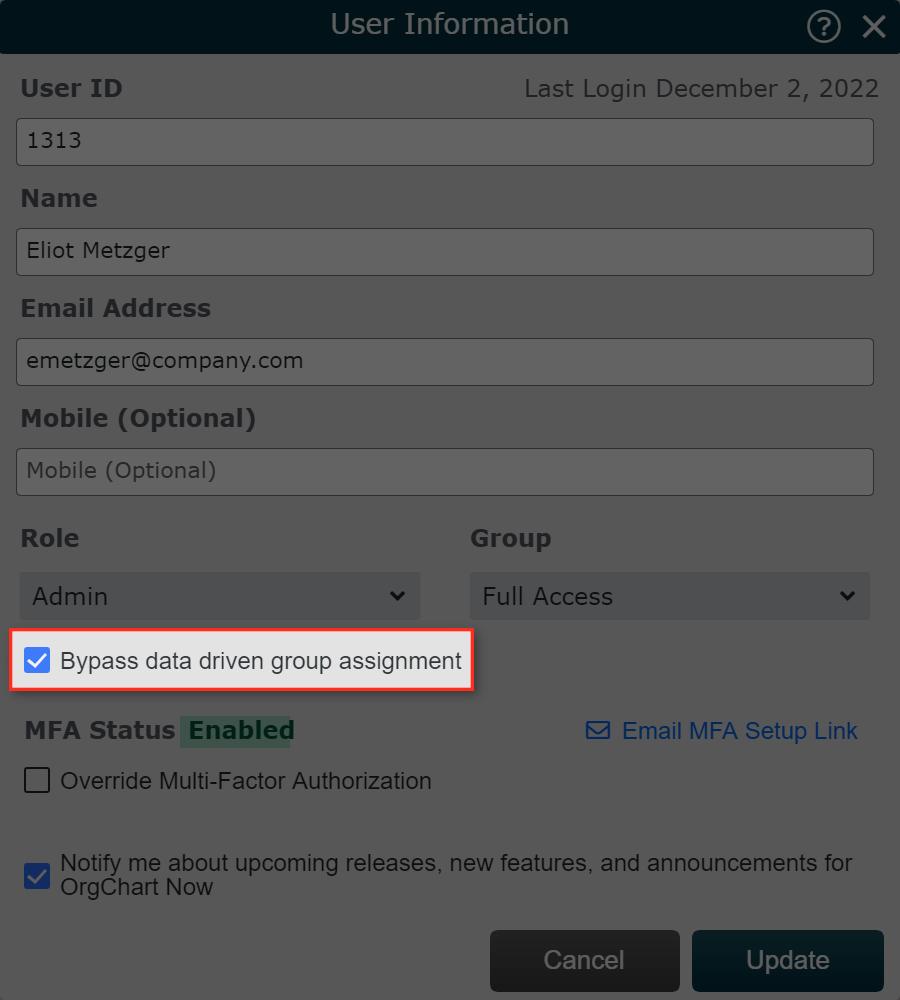
Click on Update.