ADP WFN Recruitment Module
Audience:
Audience: Administrators
Overview
ADP WFN Recruitment Module is an ATS (Applicant Tracking System) that allows HR professionals to manage talent acquisition throughout the recruitment process. OrgChart directly connects to ADP WFN Recruitment Module, enabling Administrative Users to display open requisitions on their org charts. The following article provides step-by-step instructions for configuring and setting up the ADP WFN Recruitment Module connector.
Configuring an ADP WFN Recruitment Module Connector
Sign into your ADP WFN account, and then click on ADP Marketplace.
Click on MyApps.

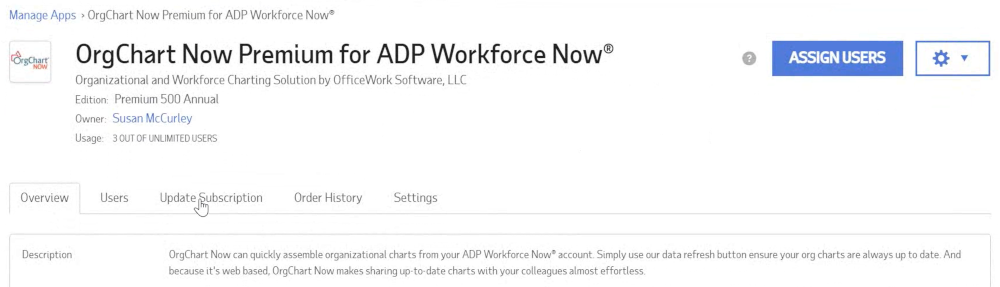
Click on the Gear icon in the upper right corner of the OrgChart for ADP WFN application, and then select the Manage App option.
Click on the Update Subscription tab. A list of editions is displayed.
Select the ADP Workforce Now Recruitment option (under the Choose Add-Ons heading, located at the bottom of the list).
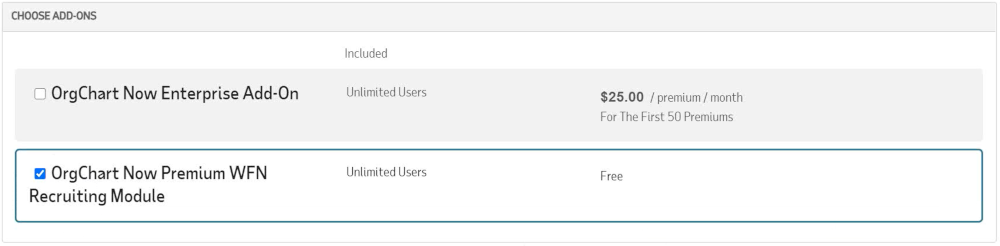
Click on Continue. The Billing Details menu appears.
Select ADP Invoice to add the ADP WFN Recruitment Module to your existing ADP invoice.
Click on Place Order.
Note
Note: It is Free to add the ADP Workforce Now Recruitment module to your OrgChart subscription. The process to add the module mimics a purchase, but you will not be charged.
Check the Agree to Terms and Services checkbox, and then click Place Order. An email is sent to your ADP associated email.

Open the email from ADP confirming your subscription update.
Click on the provided link to grant consent to OCN to pull the recruitment data. A consent dialog is displayed.
Click on the Accept button.
If you did not receive an email from ADP, click the following link to launch the ADP Consent Manager. Pending consents are displayed.
Click on the Manage button (in the Update Settings column) of the OrgChart Recruiting Connector row. The consent form is displayed.
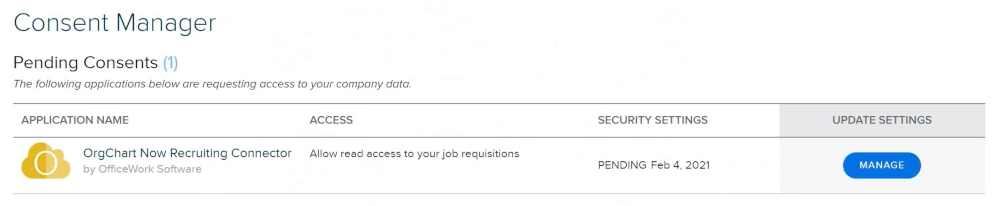
Click on the Allow button, and then click Continue.
Setting up an ADP WFN Recruitment Module Connector
Log in to OrgChart.
Click on the Mode Switcher icon in the Top Toolbar, and then select the Setup option. The Setup panel is displayed.
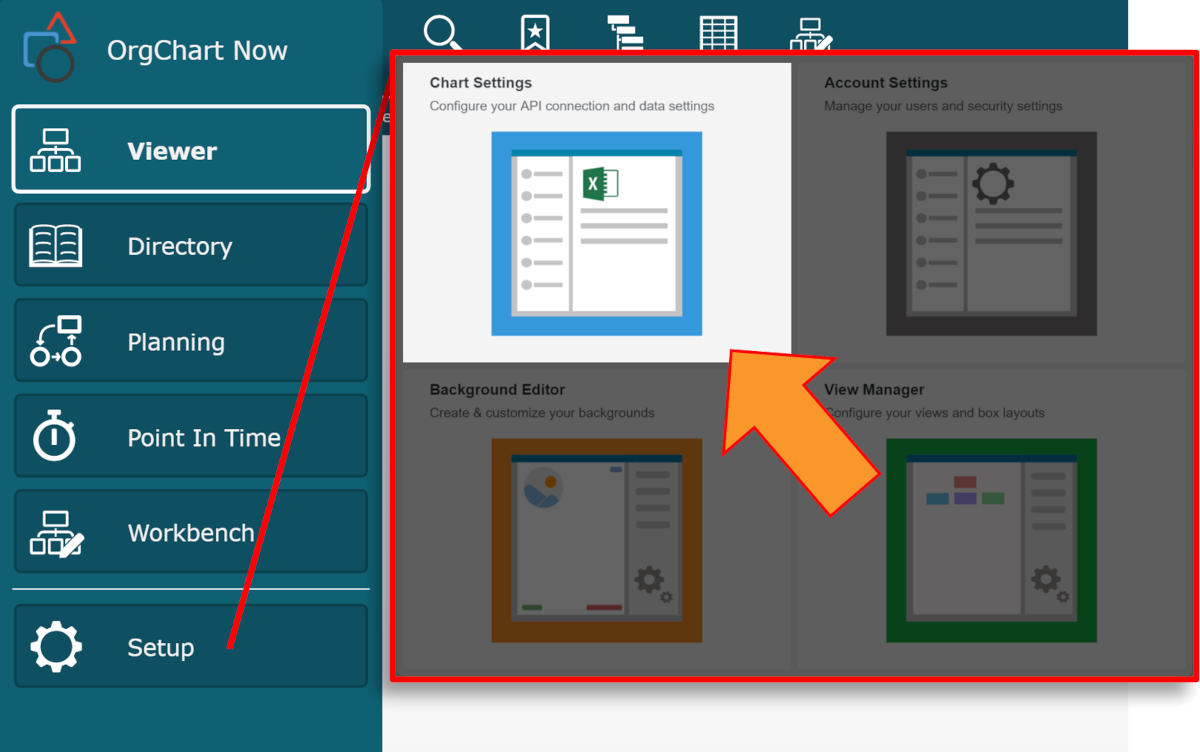
Click on the Chart Settings tile. The Source panel is displayed.
Click on the
 icon (under the Append Data heading). The Append Data Source panel appears.
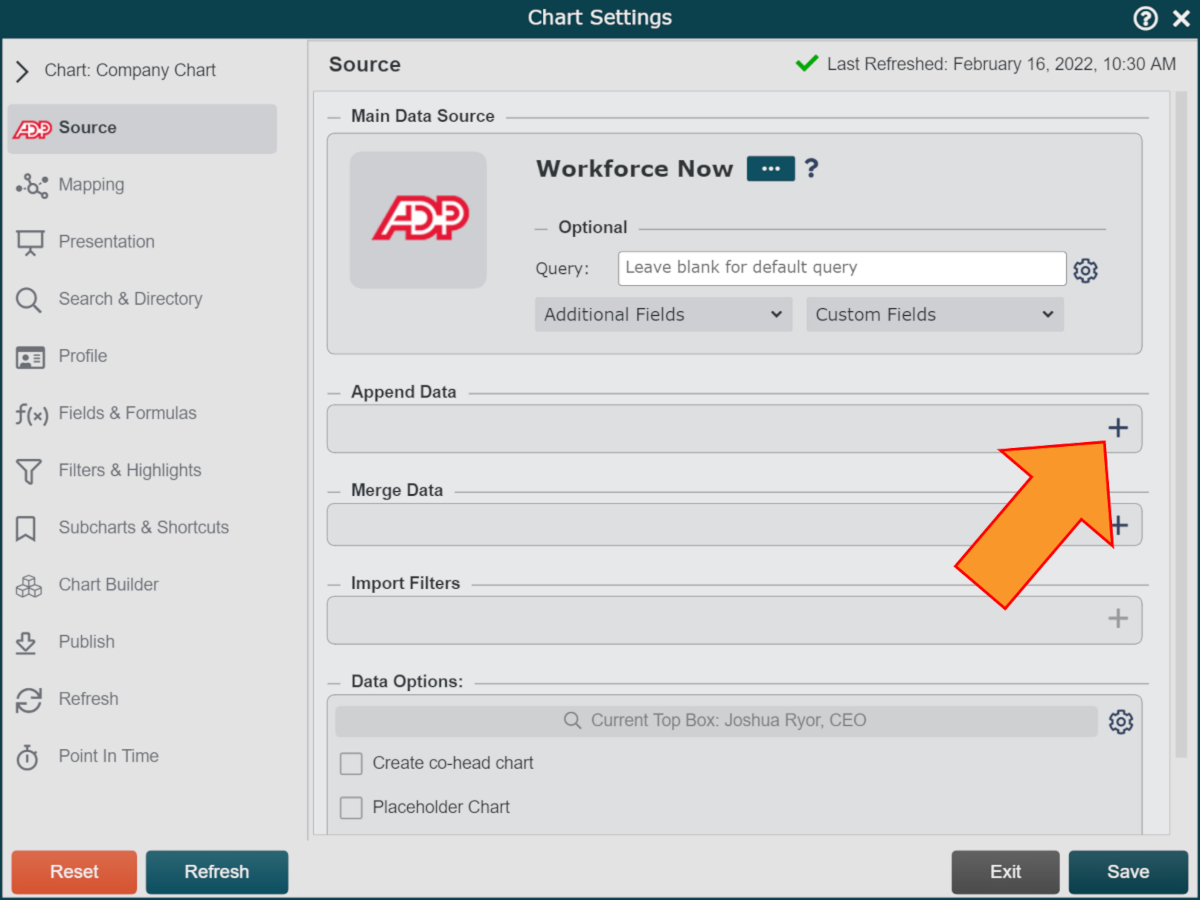
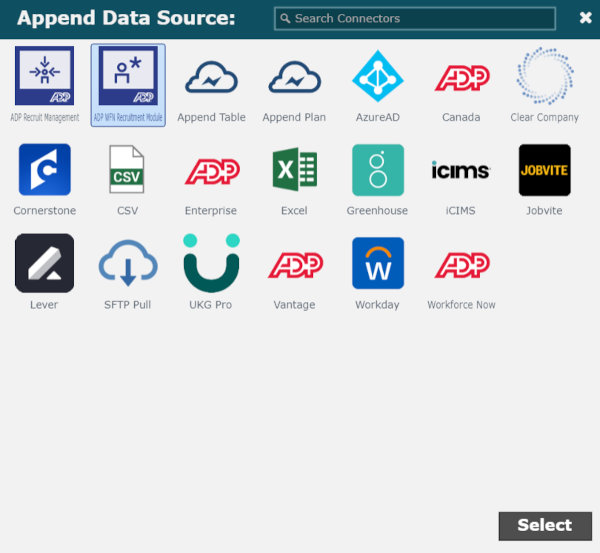
Click on the ADP WFN Recruitment Module icon, and then click on Select.
Optionally, check the Separate boxes for each open job requisition checkbox to display boxes for each available opening associated with an open job requisition ID.
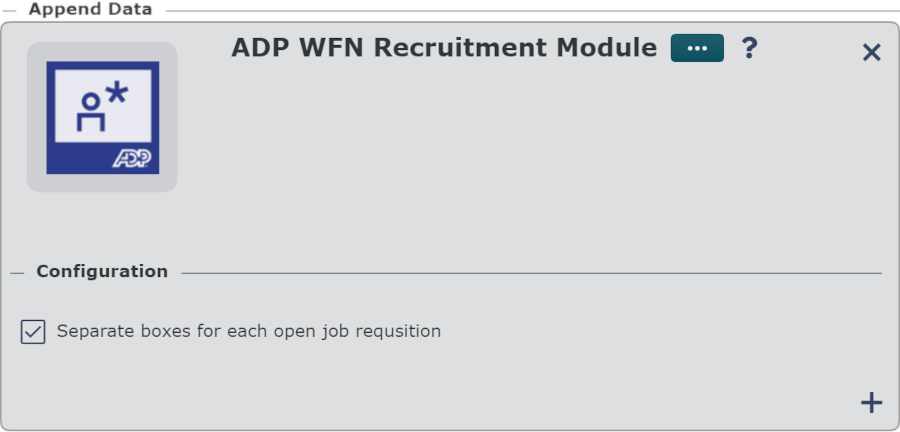
Click Save, and then Refresh.
ADP Permissions
If you are having issues pulling Open Requisitions from OrgChart, but you have granted consent in the ADP Consent Manager, you may have to adjust your ADP Marketplace Data Connector Application Profile permissions. Reference the Enabling Requisitions section of the ADP Permissions article for more information.