Active Directory Agent
Audience
Audience: Administrators
Overview
Active Directory (also known as AD) is a directory service that Microsoft developed for Windows networks and is usually not accessible from outside an organization's firewall. Therefore, a direct connection to Active Directory is rarely possible (from the cloud).
In order to extract data from a customer's AD, a small software package must be installed and configured on a server within the customer's network.
Other options for extracting data from AD are also available—see Active Directory Integration for more details.
System Requirements
The Active Directory agent must be installed on a server within the customer’s network (the server does not have to be running an Active Directory role, but must be a member of the domain).
Server Requirements:
The server does not need to be a dedicated server (server can have other applications running on it)
Operating System - Microsoft Server 2012, 2012 R2, 2016, 2019
Memory - minimum of 2GB
Disk - minimum of 1.5GB of free disk space
Network - server must have internet access (in order to push the Active Directory data to OrgChart)
Customer can opt to use the built-in Windows Task Scheduler to monitor the Active Directory Agent
Installation
Below is an installation guide for the Active Directory Agent. To upgrade, skip to the "Install or Upgrade Active Directory Agent" section below.
Install Python
Go to the following URL: https://www.python.org/downloads/
Download version 3.7.4 of Python (make sure to download "Windows x86-64 executable installer" for 64-bit servers)
After download is complete, run the file "xxx.msi" (xxx is the installer version)
Select "Install for launcher for all users" and select Customize Installation.
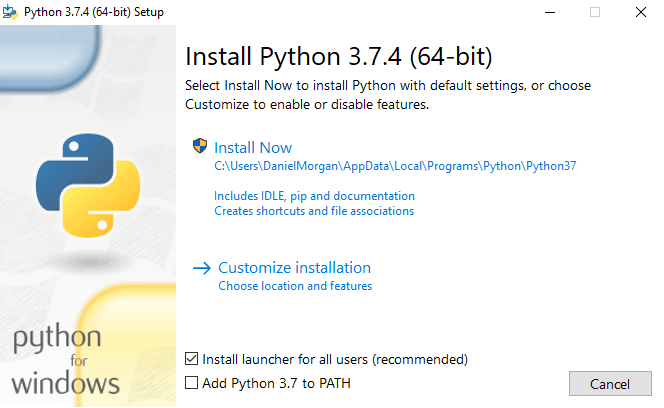
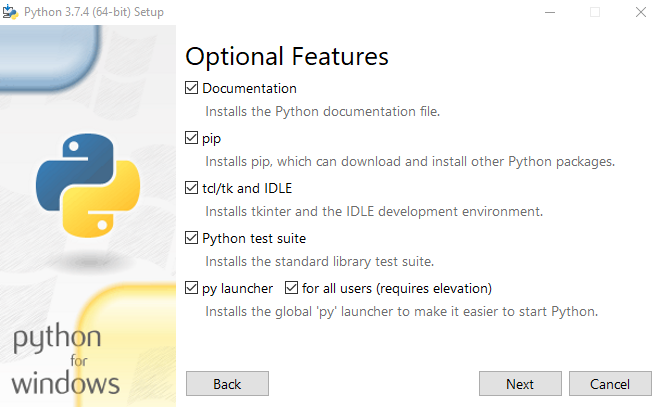
Select Next.
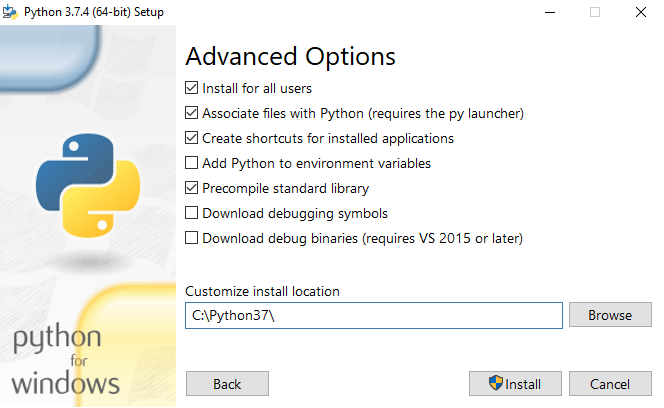
Select the box for "Install for all users", and update the "Customize install location" to"C:\Python37\". Then select Install.
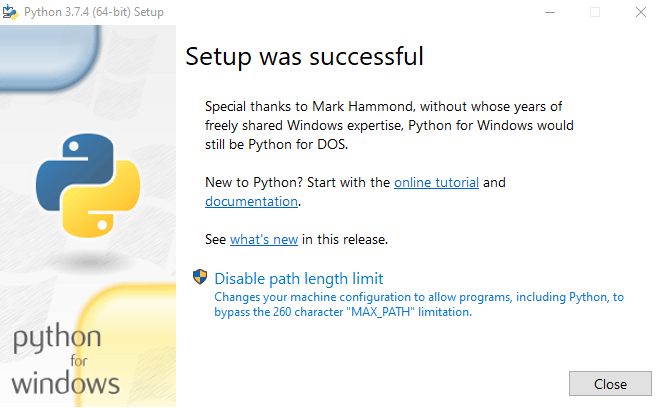
After the program has installed, select Close.
Add Python entry to the PATH Environment
Open the File Explorer on your computer.
Right-click on "This PC".
Select Properties.
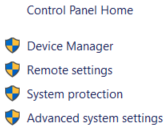
Select Advanced System settings on the left.
Select the Advanced tab.
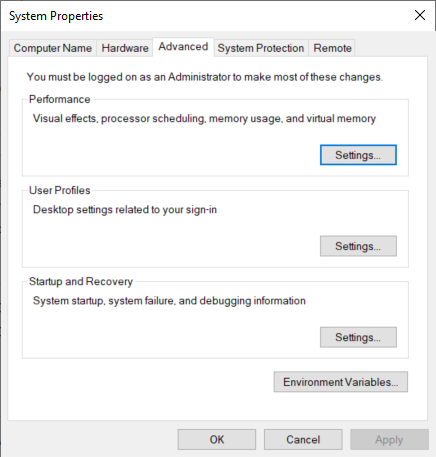
Select Environmental Variables.
Select Path in the bottom list.
Select Edit.
In the "Variable value" text area, select New and add the following text to the end of the existing text, but do not replace existing text.
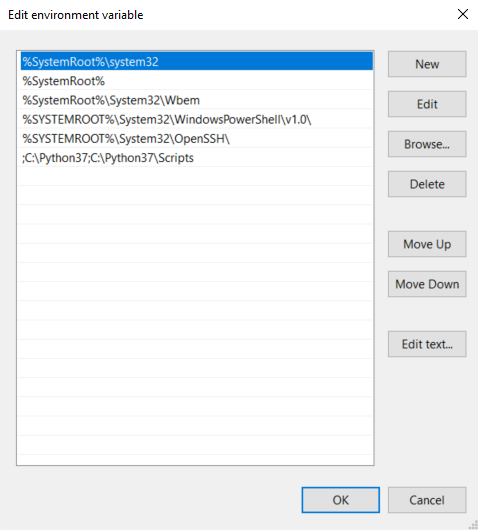
;C:\Python37;C:\Python37\Scripts
Select OK, then OK, then OK again.
Install Python for Windows Extensions
Install: pywin32-xxx.win-amd64-py3.7 (where xxx is the version number). The installer can be downloaded using the following link: Windows Extensions.
Caution
If you are running a 32-bit server, you'll need to download and install the 32-bit version of Python for Windows Extensions.
Install or Upgrade Active Directory Agent
Contact technical support for a download link. You will be provided with a zip file that you can unzip to any folder on your server.
Unzip the ADAgentInstall zip file.
Use the "cd" command to navigate to the "ADAgentInstall" folder.
Type "python uadagentinstall.py" and hit Enter.
Install Required Python Modules
Launch Windows Powershell.
Use the "cd" command to navigate to the "C:\ADAgent" folder (created by the installer).
Type "pip install -r requirements.txt" and hit Enter. Required modules will be installed.
If you get an error, contact technical support.
Configuration
The Active Directory Agent uses an XML file for configuration. See the Active Directory Configuration topic for more details on configuration.